

Last updated October 31, 2026
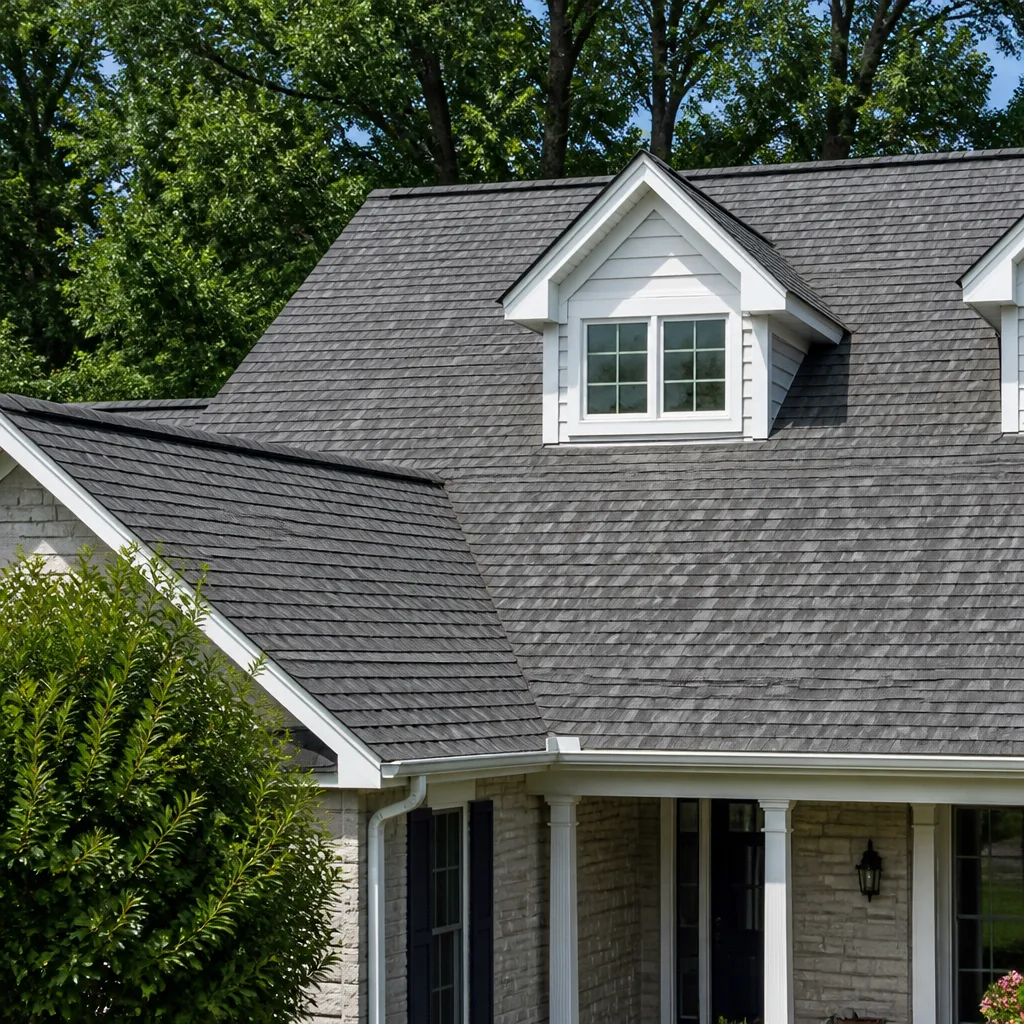 Architectural shingles
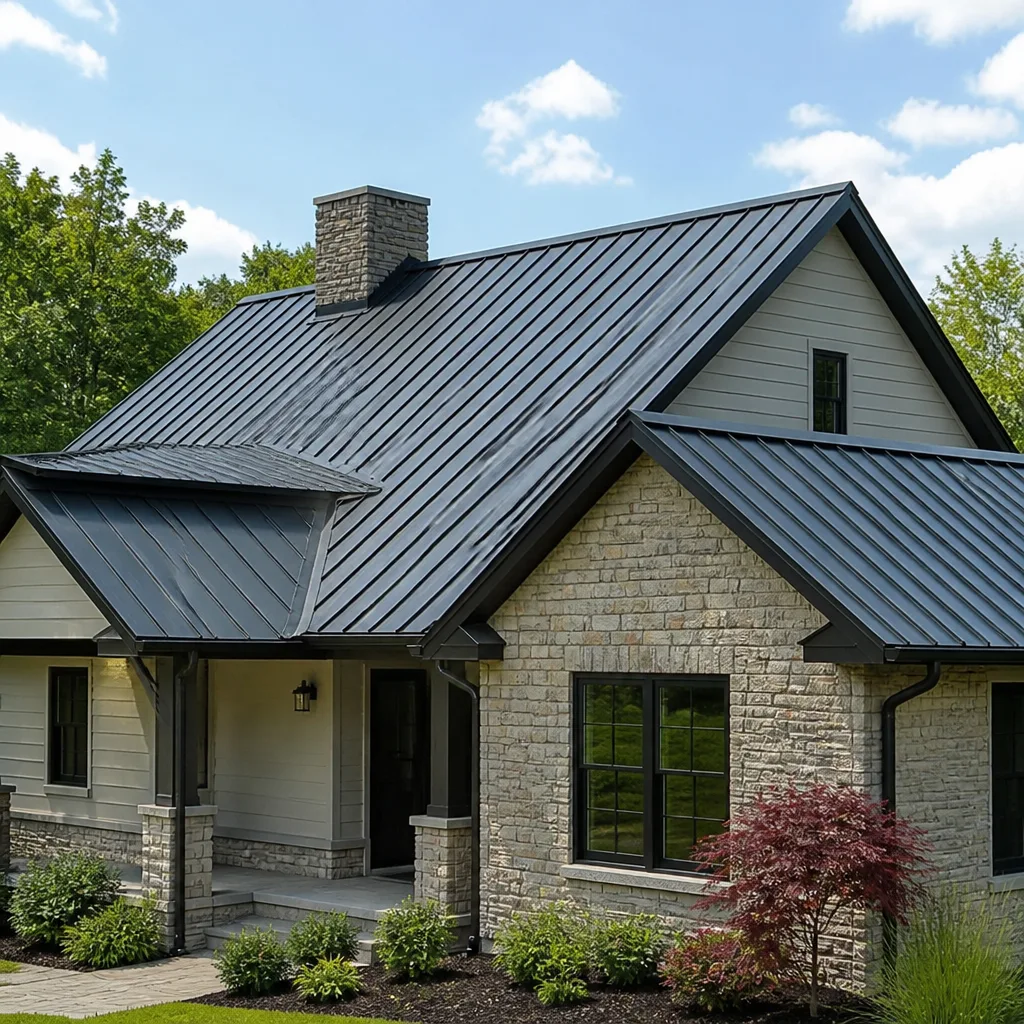 Metal roofing
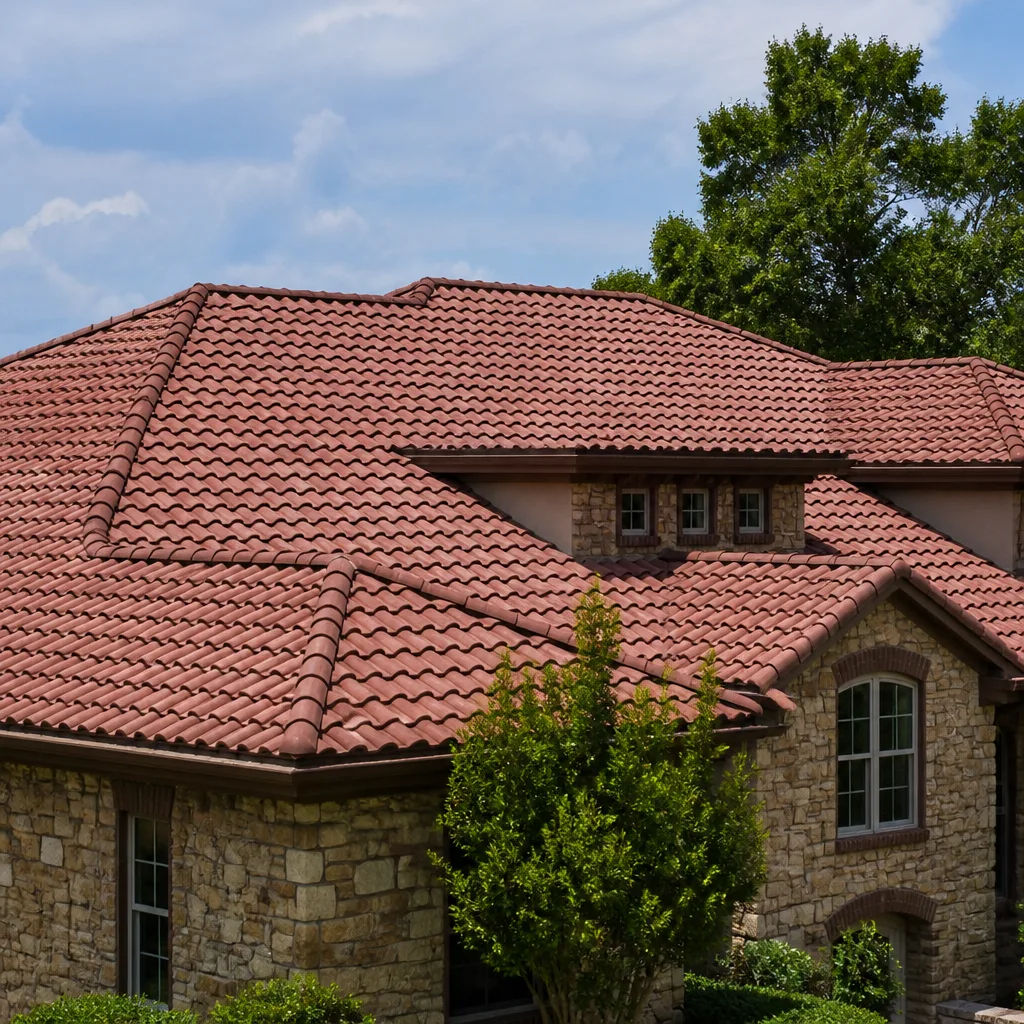 Tile roofing
 GAF
 Owens Corning
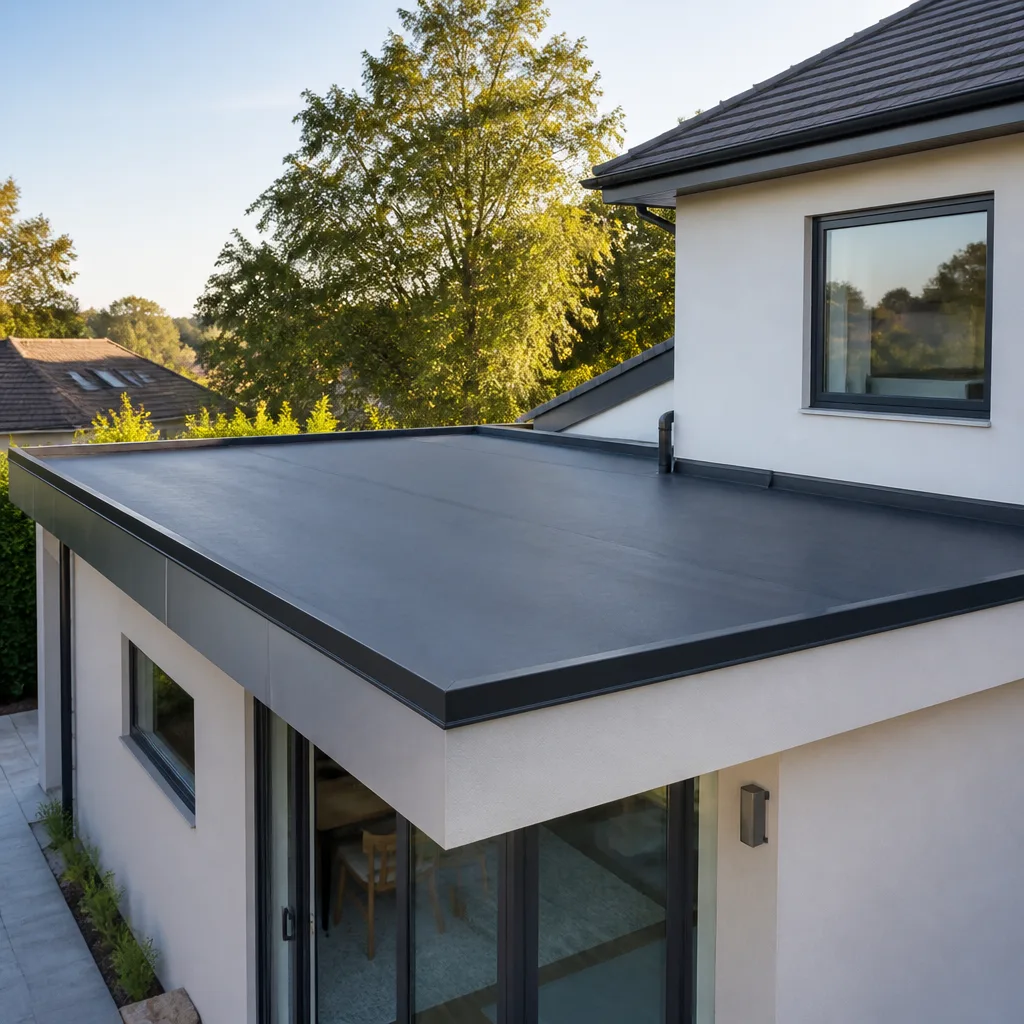 Flat & low-slope
Free roof inspection with deck photos before we talk money - GAF and Owens Corning certified installation
Roof Repair Maintenance Checklist for Downey Homeowners
Here’s the pattern we see again and again in Downey: a roof that looks fine from the curb in August is the same roof leaking into a bedroom by February. The damage didn’t happen during the rain. It happened months earlier, quietly, while the sun was doing its slow work on pipe boots, valley flashing, and shingle adhesive. This guide is built around that reality. You’ll learn which specific failure points matter most on Downey’s housing stock, how to inspect them safely from the ground, what documentation protects your insurance and warranty claims, and when Roof Repair services from a professional are genuinely worth the visit.
Quick Answer
A Downey homeowner’s roof maintenance checklist should focus on six inspection points in priority order: pipe boot collars, valley flashing, shingle granule loss, vent and chimney flashing, drip edges and gutters, and attic ventilation. Most of these can be assessed visually from the ground or with a ladder, and the critical habit is documenting conditions with dated photos twice a year, not waiting for visible leaks. The most common repair need on Downey homes is cracked pipe boot collars, which cost far less to replace than the ceiling and drywall damage they cause when ignored. For Roof Repair Troubleshooting: Common Problems and How to Fix Them, start with this checklist.
Styles & brands we work with
Table of Contents
- Why Downey Roofs Fail in the Dry Season
- Pipe Boot Collars: The Most Common Failure Point
- Valley Flashing on 70s and 80s Downey Additions
- Granule Loss: 3-Tab vs. Architectural Shingles
- DIY-Safe Visual Inspection vs. Boots on the Roof
- Documenting Conditions for Insurance and Warranty
- The Downey Maintenance Rhythm (It’s Not a Calendar)
- Common Mistakes to Avoid
- When to Call a Professional
- Frequently Asked Questions
Why Downey Roofs Fail in the Dry Season
The conventional roof checklist tells you to inspect in spring and fall. That calendar logic works in places with real winters and summer storms. It makes little sense in Downey, where the dominant weather pattern is relentless UV exposure from May through October, followed by a few intense rain events between December and March. The damage mechanism here isn’t ice or hail. It’s ultraviolet radiation slowly degrading petroleum-based materials: the rubber in pipe boot collars, the plastic in vent covers, the asphalt compound that holds shingle granules in place.
We’ve inspected hundreds of roofs across Downey’s neighborhoods, from the original tracts near Stonewood Center to the larger lots up toward Rio San Gabriel Park. The houses built in the 1950s and 60s often have their original roof framing with newer shingle layers on top. The houses from the 1970s and 80s expansion frequently have complex rooflines with multiple valleys. Both age groups share a common vulnerability: rubber and metal components at roof penetrations that degrade faster than the shingle field itself.
Think of a roof as a system with hard components and soft components. Shingles are the hard armor. Pipe boots, flashing, and sealant are the soft joints. In Downey, the soft joints fail first. A maintenance checklist organized by damage mechanism, not by month, puts your attention where failures actually originate.
Pipe Boot Collars: The Most Common Failure Point
If you only inspect one thing on your Downey roof this year, inspect the pipe boot collars. These rubber gaskets seal the gap where plumbing vent pipes penetrate the roof deck. On most Downey homes, they’re made of neoprene or EPDM rubber, and in the San Gabriel Valley sun, that rubber typically lasts 8 to 12 years before it starts cracking. When a boot collar fails, water follows the vent pipe straight down into the attic, often traveling along the pipe for several feet before dripping onto insulation, drywall, or stored items.
Here’s what a failed pipe boot looks like from the ground or a ladder at the eave:
- Cracks in the rubber collar – hairline cracks at first, then deeper splits that expose the pipe itself.
- A gap between the rubber and the pipe – the collar should fit snugly; daylight visible through the gap means water can enter.
- Chalking or crumbling rubber – if the surface leaves a black residue on your finger or looks powdery, the UV degradation is advanced.
- A raised or displaced collar – sometimes the rubber shrinks and pulls away from the pipe on one side.
The repair is straightforward: a new pipe boot costs $25 to $80 for the part, and a competent roofer installs it in under an hour. The damage it prevents is not straightforward. We’ve seen water stain ceilings two rooms away from the actual pipe penetration because water traveled along the pipe and dripped at a joint. For a homeowner who values knowing the full picture, this is the single highest-value check on the entire roof.
One Downey-specific note: many homes here have had solar panels added in the last decade. Panel installers often lift shingles around existing penetrations. If your home got solar, double-check every pipe boot near the panel array, because installers sometimes disturb those collars without realizing it.
Valley Flashing on 70s and 80s Downey Additions
Downey’s building boom in the 1970s and 1980s produced a lot of homes with additions, and additions create valleys. A valley is the internal angle where two roof planes meet, and it concentrates more water flow than any other part of the roof. Every square foot of roof surface draining toward a valley sends its water through that channel. The flashing in a valley has to handle that concentrated flow, and in Downey, the original metal in 40 to 50 year old valleys is often galvanized steel that has rusted through in spots.
When you inspect valley flashing, you’re looking for three things:
- Exposed metal edges – shingles that have shifted or curled back reveal the metal underneath. That metal should look intact, not rusted or perforated.
- Rust streaks or orange staining – visible on the shingles adjacent to the valley, indicating the metal underneath is corroding and washing rust onto the roof surface.
- Granule accumulation in the valley – a normal amount of loose granules washes into valleys, but a thick buildup suggests the shingles above are shedding excessively and the valley is trapping that debris.
If the valley flashing has failed, the repair path depends on the roof’s condition. On a roof with years of life remaining, replacing the valley metal and re-shingling that channel is a targeted repair. On a roof already near the end of its service life, patching a valley is often throwing good money after bad, and an honest assessment will tell you which situation you have. Seacrest Roofing’s inspection process diagnoses the actual condition first, then matches the repair or replacement product to the roof, not the other way around.
Granule Loss: 3-Tab vs. Architectural Shingles
Granule loss is the most misunderstood condition on a roof. Every asphalt shingle sheds granules over its life. The granules are the UV shield; they protect the asphalt underneath from direct sun exposure. When enough granules come off, the asphalt oxidizes, becomes brittle, and the shingle loses its waterproofing capability. The question that matters is how much loss is normal for the shingle’s age and where the loss is concentrated.
The threshold differs by shingle type. If you’re checking a 3-tab shingle roof, which is common on older Downey homes, you’re looking for bare asphalt patches showing through the granular surface. 3-tab shingles have less granule depth to begin with, so when you see the black asphalt substrate appearing in patches larger than a quarter, the shingles are in the replacement zone. On architectural shingles, the dimensional profile means granule loss often shows up first on the raised shadow lines, and the threshold for concern is higher because architectural shingles carry more granules and more asphalt per square than 3-tab equivalents.
Here’s the practical way to assess granule loss from the ground:
- Check the gutters and downspout splash blocks. After a rain, look at what washed down. A light sprinkle of granules is normal. A visible accumulation of granules that looks like coarse sand in the bottom of the gutter suggests active shedding.
- Look for color variation across the roof plane. Areas where the shingle color looks washed out or lighter than the surrounding field indicate localized granule loss, often on the sun-facing southern and western slopes.
- Check for granule piles at the base of downspouts. If you see a mound of granules where the downspout hits the ground, the roof above that gutter run is shedding at a rate that warrants a professional assessment.
What granular loss tells you is timing. A roof shedding granules heavily is not going to heal itself, and in Downey’s climate, the curve from “losing granules” to “leaking” can be 2 to 5 years depending on shingle quality and pitch. Catching it early gives you the option of budgeting for replacement on your timeline rather than reacting to a leak on the roof’s timeline.
DIY-Safe Visual Inspection vs. Boots on the Roof
There are two very different activities that get called “roof inspection.” One is a visual assessment from the ground or a ladder. The other is a boots-on-the-roof physical inspection where someone walks the surface, tests shingle adhesion, probes suspect areas, and examines penetrations up close. Both have value, but they serve different purposes, and the distinction matters for safety and liability.
A DIY-safe visual inspection from the ground covers these items:
- Curled, cracked, or missing shingles visible from the ground or a ladder at the eave
- Rust streaks or staining near valleys, chimneys, and vents
- Pipe boot collar condition visible from the eave or an adjacent window
- Granule accumulation in gutters and at downspout bases
- Visible flashing gaps or lifted flashing at roof edges
- Sagging or uneven roof planes when viewed from the street or across the yard
What a ground-level inspection cannot do is test the actual integrity of the roof surface. Shingles can look fine from below and be losing their seal, which you only detect by lifting the corner of a shingle and feeling whether the adhesive strip still engages. Flashing can look intact and have hidden separation behind the shingle layer. This is why we recommend a professional inspection at least every three years on a roof over 15 years old, with more frequent visual checks in between.
The safety point here is genuine, not boilerplate. Roof work is inherently dangerous. Falls from roofs are one of the most common causes of serious residential injury. If you choose to use a ladder, keep it on level ground, maintain three points of contact, and do not climb onto the roof surface itself. A visual check from the eave is sufficient for most maintenance purposes. Anything requiring walking the roof surface should be left to someone trained, equipped, and insured for that work. Seacrest Roofing offers roof inspection in Los Alamitos and throughout the Downey area as a standalone service, so you can get a professional condition report without any obligation to proceed with repairs.
Documenting Conditions for Insurance and Warranty
The homeowners who get the best outcomes from insurance claims and manufacturer warranty claims share one habit: they document the roof before there’s a problem. When a leak appears, having baseline photos from six months earlier transforms what would otherwise be a he-said-she-said argument into a clear timeline. Here’s the documentation system that we recommend Downey homeowners follow.
Twice a year, ideally in early spring and late fall, take a photo series that covers the entire roof surface and all penetrations. Use a phone camera at full resolution and shoot in daylight. The specific shots that matter:
- Four cardinal views of the roof – one photo from each side of the house showing the full roof plane, taken from as far back as the property allows.
- Close-ups of every pipe boot and vent – get the collar itself in frame, not just the general area.
- Valley channels from above if possible – from an upper window or a ladder positioned to look down the valley line.
- Flashing detail shots – any place where roof meets wall, chimney, or penetration, showing the flashing and the shingle overlap.
- Gutter contents – a photo of granule accumulation tells the story of shingle wear over time.
- The attic underside – shoot the roof deck from inside the attic, capturing any stains, condensation signs, or light penetration.
Store these photos in a dated folder, either in cloud storage or on a drive that won’t get lost. When you file a claim or a warranty request, the sequence of images showing a condition worsening over time is far stronger evidence than a single photo taken after the damage appeared. This is also the exact documentation set that manufacturers like IKO and Atlas ask for when processing warranty claims on their shingle lines, and having it ready accelerates any claim process.
The Downey Maintenance Rhythm (It’s Not a Calendar)
Instead of a month-by-month checklist that treats roof maintenance like changing smoke detector batteries, we organize Downey roof care around three events: the dry season, the first rain, and the post-rain assessment. Each event triggers specific actions, and the cycle repeats annually.
Dry season (May through October): This is when the damage happens, not when you see it. The sun bakes pipe boots, breaks down shingle adhesive, and accelerates granule loss. Your job during this window is observation. Do the visual checks described above, document conditions with photos, and watch for changes. If you see a pipe boot cracking in June, scheduling the repair in September costs the same and avoids the February scramble.
First rain (typically November through December): The first meaningful rain of the season is the moment leaks that have been waiting all summer reveal themselves. Check the attic during or immediately after the first good rain. Look for water stains on the deck, wet insulation, or drips. If you find a problem, address it before the heavier rain months arrive. Downey gets most of its annual rainfall in a handful of events, and a roof that leaks in the first storm will leak worse in the second.
Post-rain assessment (January through March): After the rainy season, check for what the rain exposed. Look at the gutters for granule accumulation, check for new stains in the attic, and photograph anything that changed. This is also the window when roofing contractors in Downey have the most availability, because the emergency calls taper off. If you’ve been considering a professional assessment, late winter and early spring are the most convenient months to schedule one. For Roofing Cost Breakdown: The Downey Homeowner’s Reference for 2026, see our detailed pricing guide.
This rhythm aligns with how Downey weather actually works. The months when homeowners typically think about roofs (during rain) are the months when everyone else is also calling, and emergency repair capacity tightens. The homeowners who inspect during dry weather and document during the cycle are the ones who avoid the February leak entirely.
For those ready to compare material options rather than just patch what’s failing, the seven shingle brands Seacrest Roofing stocks and installs, including Tamko and Boral, span budget-tier, premium, and designer lines. That means a repair recommendation never becomes a forced replacement with a single product the roofer happens to carry. You can explore the full lineup at the Seacrest Roofing home resource, or start with a professional inspection that diagnoses first and sells second.
Common Mistakes to Avoid
- Ignoring dry-season changes because “it’s not raining.” Every failed pipe boot and deteriorated flashing creates the leak conditions months before water appears. The dry season is precisely when maintenance matters most in Downey.
- Treating granule loss as purely cosmetic. Granules are the UV barrier. When they’re gone, the asphalt underneath breaks down quickly, and the shingle’s useful life is over even if it still sheds water on inspection day.
- Patching a valley on a roof that’s near end of life. We see homeowners spend $800 to patch a leaking valley on a 25-year-old roof, then face a full replacement 18 months later. An honest assessment tells you which situation you have before you spend.
- Climbing onto the roof to inspect without proper footwear and a harness. Every year, homeowners in Southern California are injured falling from roofs during DIY inspections. The information you gain from a ground-level check is adequate for maintenance decisions.
- Filing a warranty claim without baseline photos. Manufacturers process claims based on evidence. A homeowner who submits a single photo of current damage has a weaker position than one who can show the condition six and twelve months prior.
- Waiting until a leak appears in the living space to investigate. Water that reaches your ceiling has already passed through the roof deck, insulation, and framing. By the time it’s visible indoors, the repair is more extensive and more expensive than addressing the source would have been.
- Choosing a repair product before the problem is diagnosed. Some roofers carry one shingle line and recommend that line regardless of what the roof actually needs. Seacrest Roofing’s material-neutral inspection identifies the actual failure, then matches the product to the roof, not the other way around.
When to Call a Professional
Some conditions are beyond a visual checklist and require a boots-on-the-roof assessment. Call a professional when you see active water staining in the attic, when granule loss covers more than a third of the roof surface, when valley flashing shows visible rust or separation, or when the roof is over 20 years old and hasn’t had a professional inspection in more than five years. Also call if you’re buying or selling a Downey home and need an objective condition report for the transaction. Seacrest Roofing offers free estimates in Downey, call (855) 597-2817 and we’ll assess the roof with material-neutral eyes, then show you every option that fits your situation, including Roof Repair in Los Alamitos and Roof Replacement in Los Alamitos for nearby coverage.
Frequently Asked Questions
Visually inspect your roof from the ground twice a year, in early spring and late fall, and after any significant rain event. Schedule a professional inspection at least every three years if your roof is over 15 years old, or every five years if it’s newer. The dry season damage in Downey makes regular visual checks more valuable than annual calendar checklists, and consistent documentation strengthens any future warranty or insurance claim.
Minor repairs like pipe boot replacement typically run $150 to $400 including labor. Valley flashing repair ranges from $500 to $1,500 depending on the valley length and condition. Full shingle replacement on a Downey home typically spans $8,000 to $18,000 depending on size, pitch, and material grade. These are Downey market ranges, and your exact quote depends on your roof’s specific condition. Call (855) 597-2817 for a free estimate with line item detail.
Homeowners insurance does not cover maintenance, and it typically covers repairs only when damage results from a covered event like storm, fire, or falling objects. Gradual deterioration, including UV damage, pipe boot failure, and normal wear, is a homeowner responsibility. This is exactly why proactive maintenance matters: the claims that get approved are the ones for sudden, documented events, not the ones that build up silently over years.
A properly installed architectural shingle roof in Downey typically lasts 20 to 30 years, while 3-tab shingle roofs last 15 to 20 years. The UV exposure shortens the life of rubber components like pipe boots to 8 to 12 years regardless of shingle type. Lighter shingle colors and adequate attic ventilation extend roof life in the Downey climate, and periodic component-level repairs can keep a roof functional through the back half of its service life.
You’re in replacement territory when granule loss exposes asphalt over more than a third of the roof, when valleys or flashing have failed in multiple locations, when the shingles have lost their seal across large areas, or when the roof is past 20 years and showing multiple simultaneous issues. A roof with one failed component and an otherwise healthy surface is a repair candidate. A roof with widespread deterioration is a replacement candidate, and an honest assessment will tell you which one you have.
Roof repair in Downey typically does not require a permit when the work is limited to replacing individual shingles, flashing, or pipe boots. Full roof replacement requires a permit through the City of Downey Building Division, and the contractor files it before work begins. Seacrest Roofing handles the permitting process for replacement projects, and for Roof Inspection in Los Alamitos and Downey, the assessment itself requires no permit, just a scheduled appointment.
The Bottom Line
Downey roofs fail in predictable, material-specific ways, and the failures start during the dry season, not the rainy one. The maintenance checklist that matters covers pipe boot collars, valley flashing, granule loss thresholds, and photo documentation, in that order. Check these items visually twice a year, document what you find, and get a professional assessment before your roof’s age or condition puts you into replacement territory. Caught early, most Downey roof problems are repair issues, not replacement issues. The difference between the two comes down to how early you look. Explore more guides & resources on maintaining your roof.
Written by the team at Seacrest Roofing, serving Downey since 2018.
See the difference
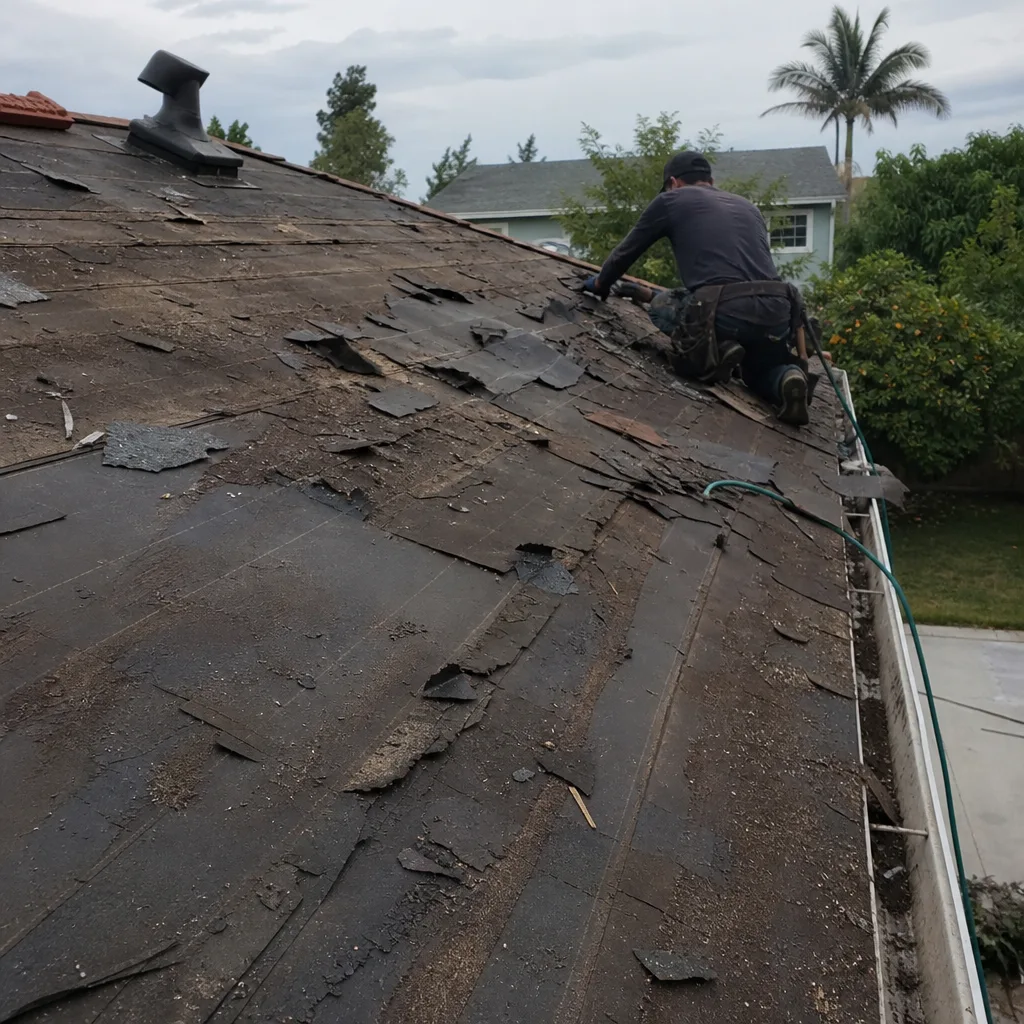 Before
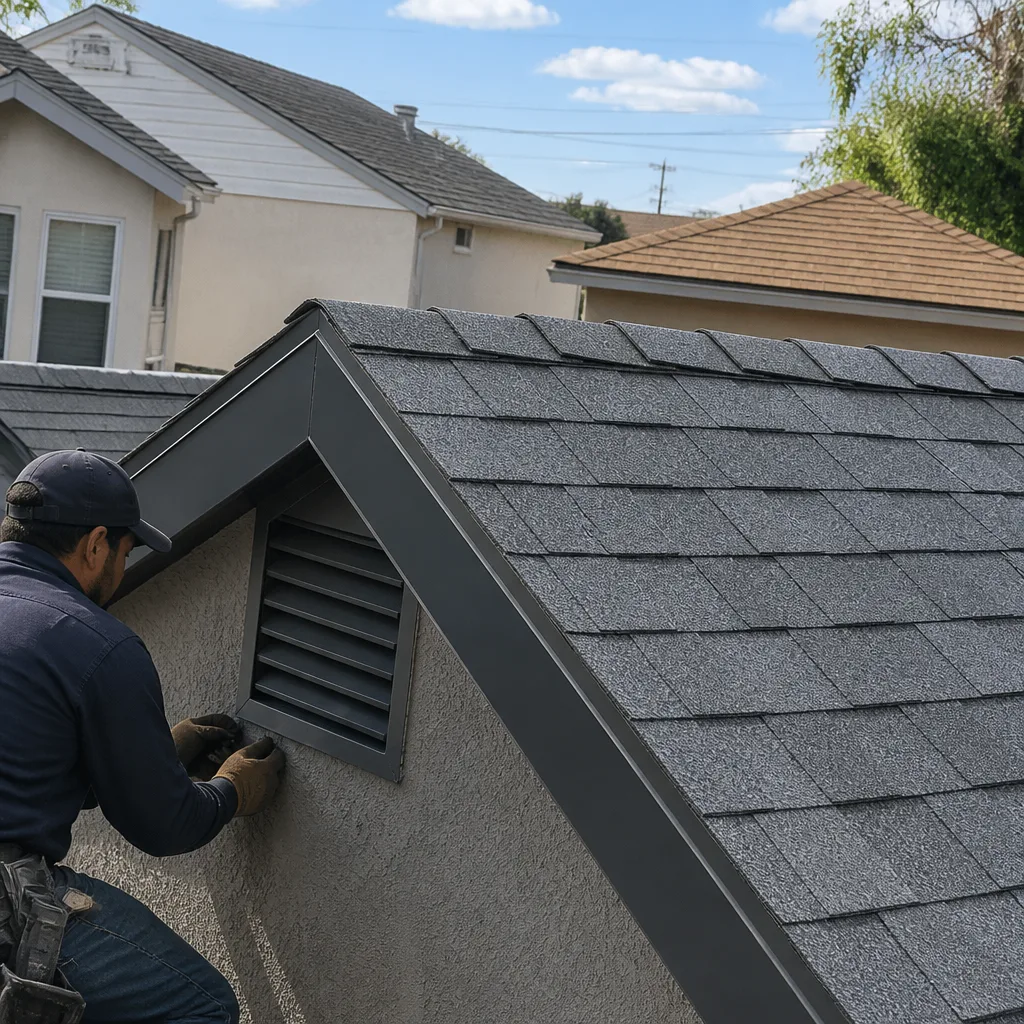 After
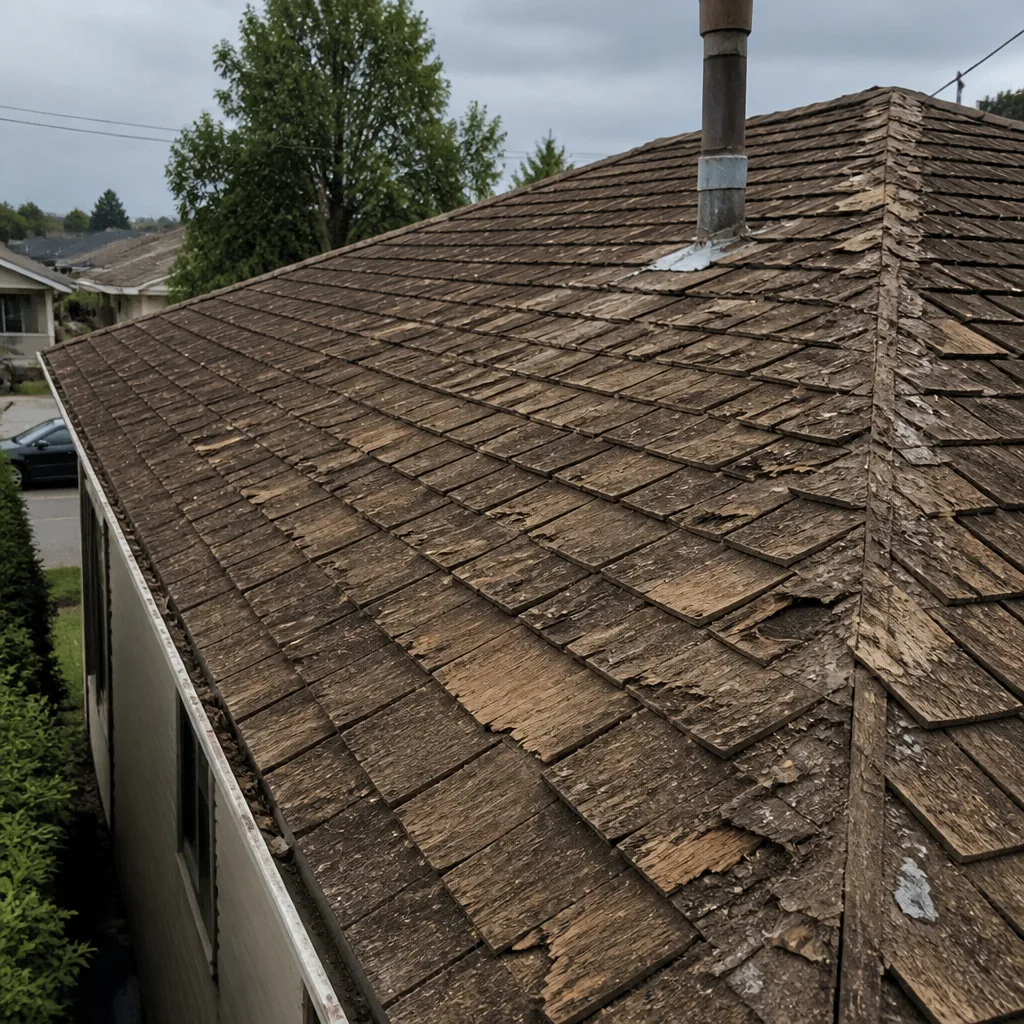 Before
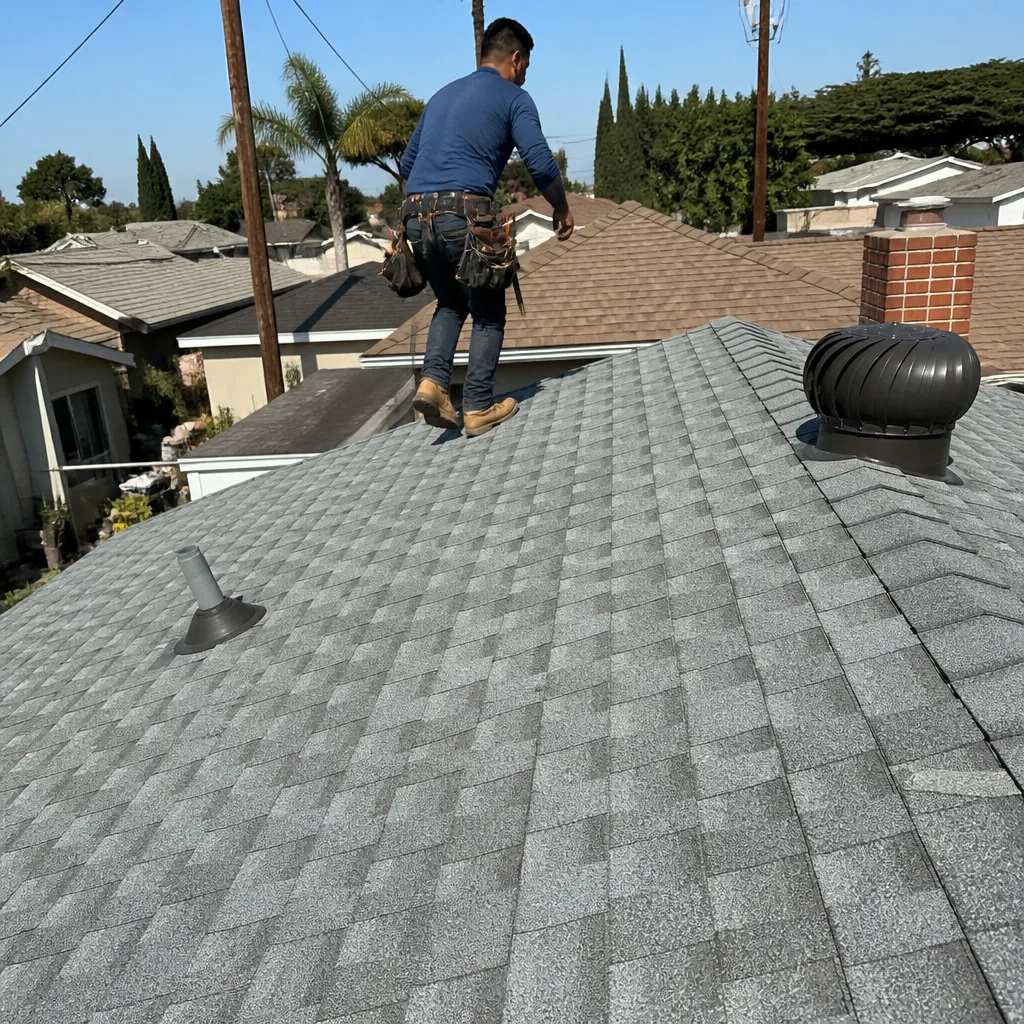 After
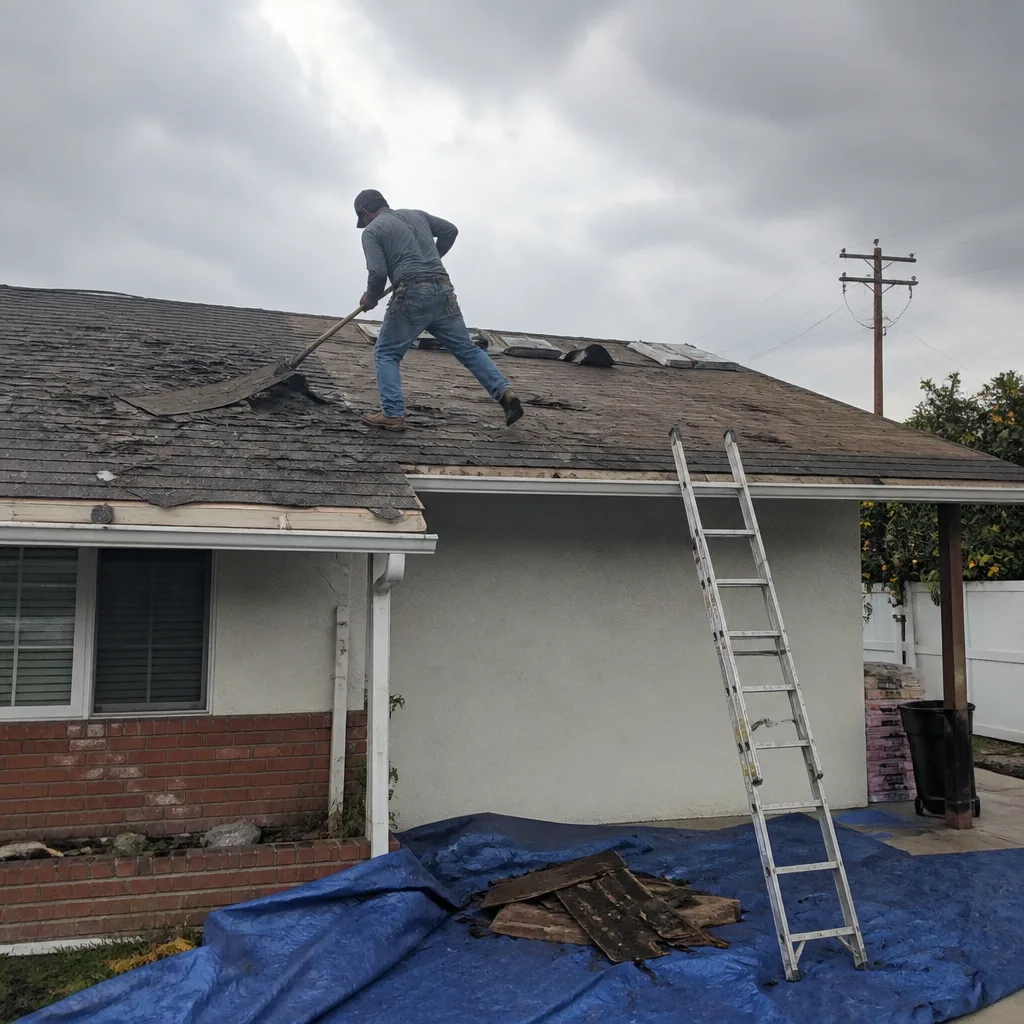 Before
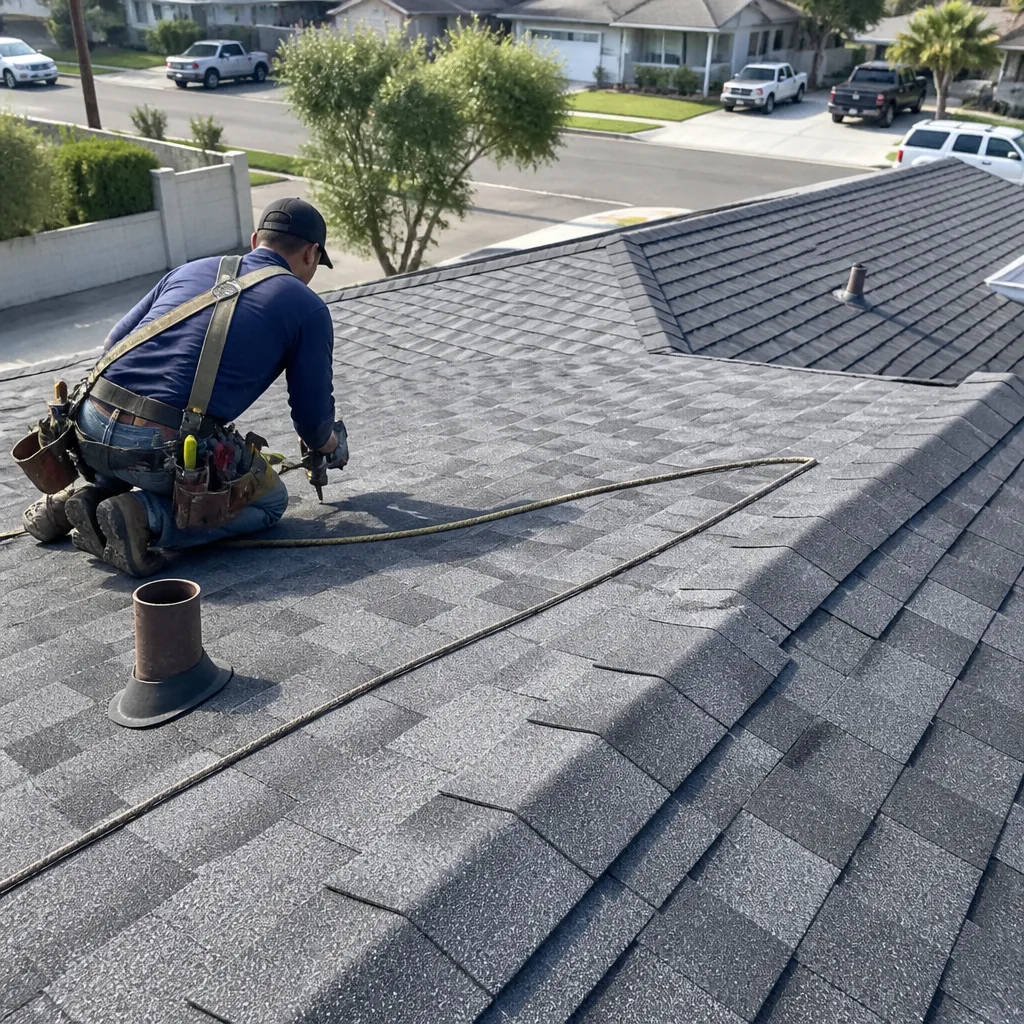 After